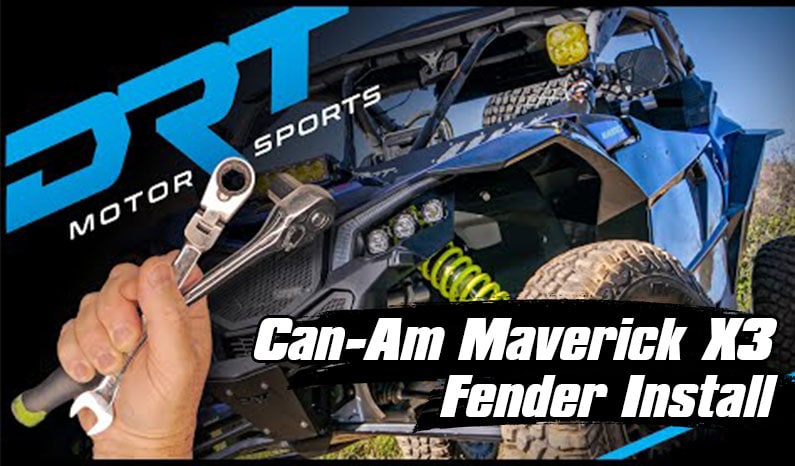
Tis the season for getting dirty. It’s only right to outfit your side by side with a set of Maverick X3 Fender Replacements. However, we get the whole DYI thing. Who wants to leave the bike at the shop? Don’t worry.
DRT Motorsports has your back with the fender replacement install from start to finish. It’s here you will get clear cut directions on how to mount the much sought after sxs fender replacements. In detail even.
This video will give the 411 on mounting the ABS fenders to your machine without breaking a sweat. Okay, you might break a sweat, but there will be no cursing in frustration. Just in case, call a buddy because you may need some moral support because this install has a double wrench difficulty level.
Additionally, you will need to do some drilling. So, grab your tool kit and find your inner gear head. Now that you’ve got your shop buddy and tools, etch out about an hour of your day to get these puppies slapped on.

What You Need
- 3/8 ratchet
- 12mm & 13mm socket
- T30 torx socket
- 5/6 drill bit and hand drill
- 3- and 4mm Allen wrench
- Rivnut, Nutcert tool
- safety glasses

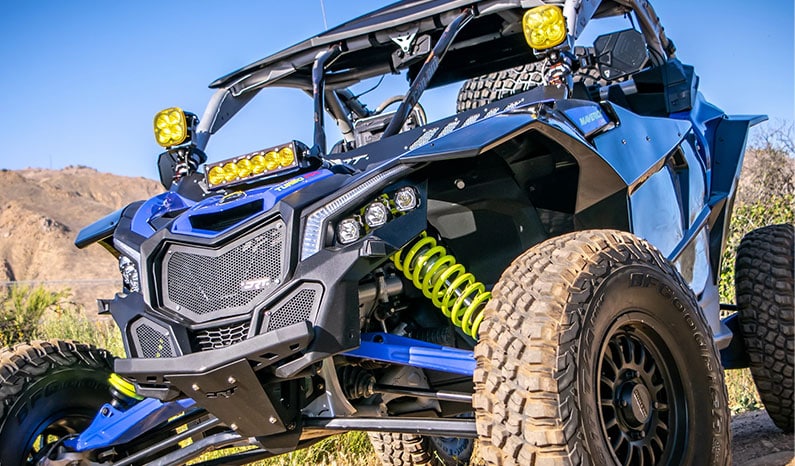
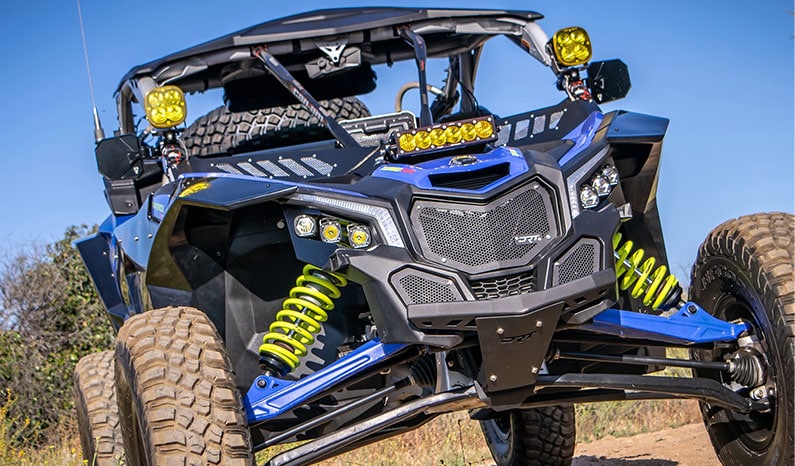
First Up: Front Fenders
First things first, you need to grab the socket and start removing the bolts that connect the fender to the frame. Then, replace the upper hardware with the correct mounting bracket, making adjustments as needed. The small bracket goes in the forward position while the larger bracket goes in the rear position. Once you’ve got everything just so, tighten the brackets.
Next you can, but don’t need to, remove the plastic near the mounting holes on the new UTV fender replacement. You’ll then get the Allen wrench along with the included hardware into the two upper brackets. After that, reinstall the torx bolts back where you found them, ensuring they are nice and tight. This gang, is how you keep the Maverick X3 accessories in place for the next steps in the install.
Get Your Drill Ready
Now it’s time to grab your drill with the 5/6-inch drill bit. You’ll then drill necessary holes into the body panel, while the fender holes act as a guide. Moving the fender is the up next. Once removing the side by side fender, make the drilled holes slightly bigger for the Nutcerts.
To get the Nutcert into the panel, you will need the proper tool. If you don’t have this handy unit, it can be picked up at most building material stores like Harbor Freight or Home Depot. Be sure to put some extra force behind it to ensure the Nutcert fits snugly into your freshly drilled holes.
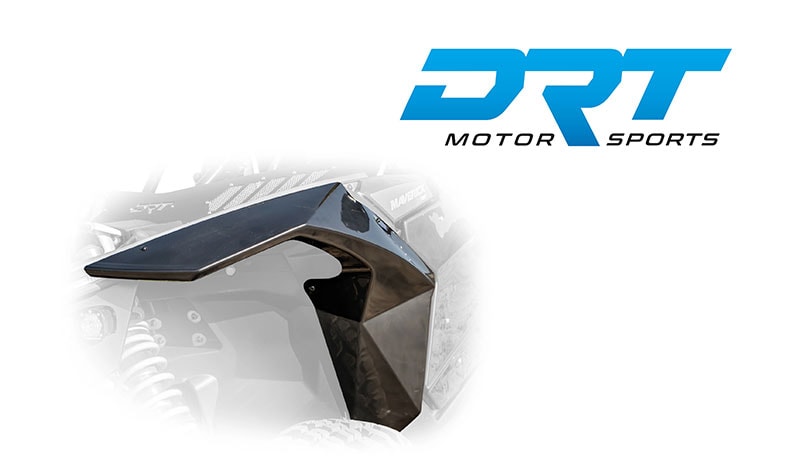
Grab the Fender
Once everything is just so in steps one and two, grab the Can-Am fender to put back on the sidexside. You’ll do as you did before, re-installing the fender using the hardware to tighten the mud fenders to the panel. Is anyone else thankful for drills yet?
While knocking this task out, don’t forget to pull the plastic back. Otherwise, it gets trapped between the bolts and the fender. Those final two pieces of hardware at the bottom of the of the fenders require an Allen wrench and a little elbow grease. Pull the plastic off and you’re all set.
Next Up: Remove Rear Fenders
The first thing to do is get those OEM fenders off the Maverick X3. Again, use the torx socket to get the bolts loosened from the UTV’s panel. Those two forward bolts can be tough because there isn’t a ton of space. Then, remove the rear bolt, reachable on the underside of the bod.
Finally, the front bolt is hidden within the plastic. You can get to this hardware by removing the door to accesses. Grab a 13mm socket to take the two upper hinge bolts out. Glide the door off the lower hinge pin.If you happen to have the factory door, you’ll need a buddy to hold the door. This allows you to get to the lower bolts that hold the body panel in place. Now get that pesky hidden bolt releasing the OEM fender.
Prepping Rear Fender
Before slapping the rear fender into place, remove the plastic round the mounting locations because it’s a royal pain to do after everything gets mounted up. Once you get that done the first thing you’ll do is line the accessory up with the body and drill in the rear bolt.
Now that you’re set up, work your way to the front of the mud fender using the same nuts and bolts you started with. It’s important to hand tighten these as you go, not using a tool for a full on mount up. Don’t get frustrated. These few hardware pieces can be a menace to get in as it’s a very tight space. Finally, wrench up and make sure everything is snugly bolted.
Get the Drill Back Out
Prior to finishing up the process, get your drill back out. The forward bolt will need a hole, so drill away. Be sure to hold the fender right up against the body to press through both the panel and the fender. This can actually be done with the door installed.
It’s time to move down to the lower bolt. Once again, using the hole as a guide on the top side of the fender. Do that same thing underneath the fender. You’re going to need the Nutcert tool just like on the front fenders. Then, finish up with the Allen wrench in all three drilled locations and you’re done with the drilling business. Finally, peel the plastic and boom you’re done.
You Did It
Once you finish up all four sides of the sidexside you are all done. You now can hop in the bike and find the gnarliest mud pit and have your way with it. Let us know how these revolutionary Can-Am fender replacements work. We’re dying to test them out.
If you’re like us and want to see what mounting up looks like prior to investing. No problem! Tap the link below and get your purchase on. Side By Side Stuff is a huge fan of the DRT Motorsports Maverick X3 Fender Replacements.


Comment section