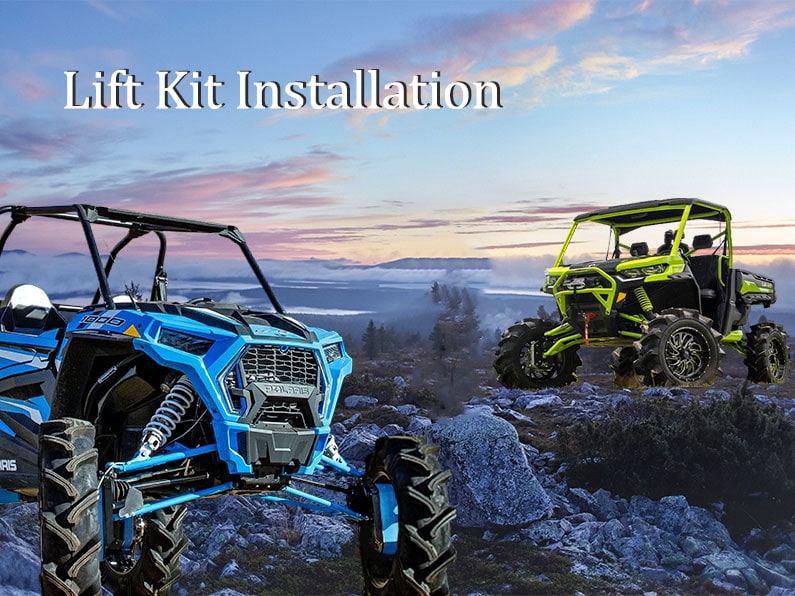
There’s no easier way to get that rugged look to your ATV or UTV than to install a lift kit. Not only does lifting your ride make it look better, but if you’re into taking the less traveled path during your rides, lifting your four wheeler can open the way to new, gnarlier terrain.
However, installing a lift kit can be intimidating to some. Before we give you a quick how-to on installing a lift kit on your own, it’s important to note that having a professional install your lift is also a good option. Installing a lift kit on your vehicle the DIY way can be done, but if you’re a beginner, the help of a professional is always a good bet.
How much does it cost to install a lift kit on your quad? Simply the cost of the lift kit plus the labor to install it. So, you can save money doing it yourself– but if you’re feeling at all hesitant to install it yourself, turn it over to a professional. It’ll save you and your vehicle’s integrity in the long run.
So., if you’re feeling confident and have the necessary skills and tools to lift your ride, let us give you the rundown on installation.
![]()
How Does A Lift Kit Work?
Simply put, a lift kit literally lifts the chassis of your UTV or ATV higher above its wheels. This not only adds a tougher, more impressive look to your rig, but it gives you additional clearance to ride over obstacles and keep your ride’s chassis from getting scratched and dinged by brush or other obstacles on your path. It can also make riding through foliage a lot easier than it might be with a non-lifted ATV or UTV. Overall, lifting your side by side can make a big difference in both the look and feel of your ride.
What Equipment Do I Need?
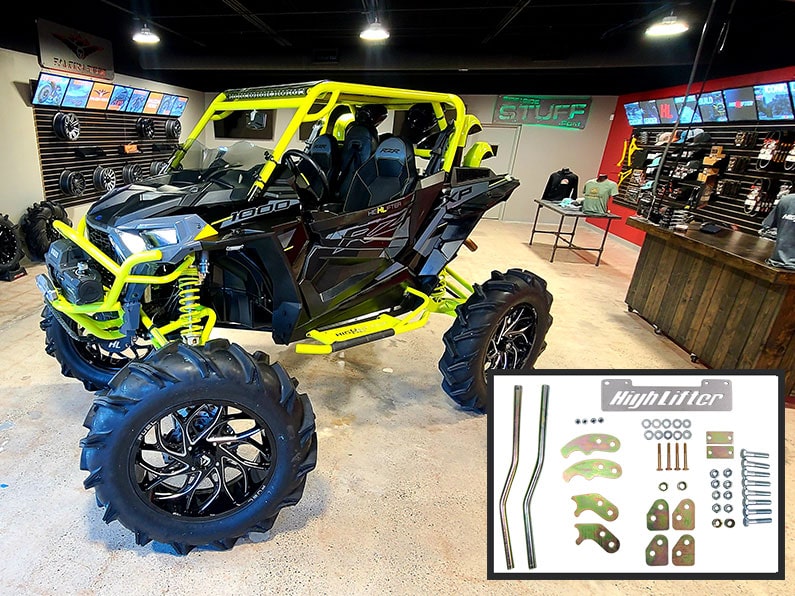
Well, it really depends on the lift kit you buy. At Side By Side Stuff, we offer High Lifter lift kits for nearly every make and model– from Polaris RZR to Yamaha Grizzly to Kawasaki Brute Force and everything in between. You only need a basic jack.
Installation: How to Install a Lift Kit Step By Step
Whew. Now that all of that is out of the way, we can address the main reason you’re here. How do you install your High Lifter lift kit? Simply put, you install your lift in two parts– first, lift the front end of your vehicle and then lift the back end. Here’s how.
Step 1: Front End Installation
After you jack up the front end of your UTV or ATV (with the wheels completely off the ground), you have to remove the front wheels and the top of the shocks from both sides. Then, the longest of your lift brackets must be installed. Insert this bracket (usually called the ‘front long bracket’) so it runs from one shock to the other. Next, the front spacer should be placed on the frame of the shock mount.
Then, the front long bracket must be aligned with the front small bracket, using a hex bolt and a lock nut. Here, it’s important to make sure that you’re using exact nut and bolt sizes. But don’t worry. Any High Lifter lift kit comes with not only the necessary hardware, but a manual that contains that info.
Next, the top shock must be connected to the lift brackets. A hex bolt and lock nut can be used again here. We also highly recommend that washers be placed first on both sides of the shock eyelet for the best fit and performance. Once those have been installed, reattach your wheels, taking care to torque the lugs back to factory specifications. Lastly? Reward yourself with a cold drink! Your front end lift is installed.
Step 2: Back End Installation
Back end installation is– not surprisingly– almost identical to installing the front end lift. But, there are a few differences that should be noted:
- Before you begin installation, make sure you unclamp the brake line and give yourself ample line length
- Place the jack on the rear of the bottom skid plate to make sure your vehicle is lifted properly and securely
- After you remove the shock bolts, jack up your ATV or UTV about two inches higher to make sure you can easily reach the the rear-drive axle
- Make sure the hex bolts used to attach the shock are facing inward.
- Lastly, the lift bracket must be connected to the stock shock mount
")
Your Ride is Lifted– Now What?
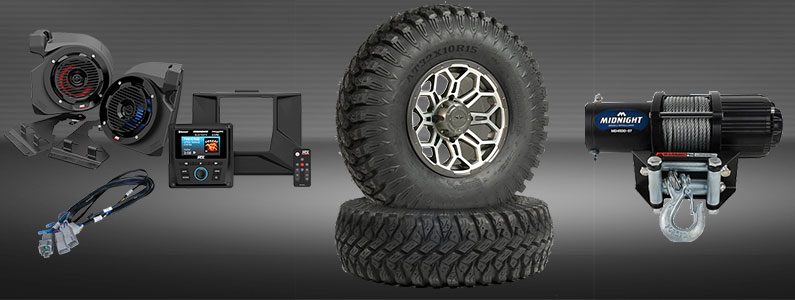
Now, you ride with increased confidence– no matter where the path takes you. Sit back and enjoy the newly rugged look of your ride. Plus, check out some of the accessories we at Side By Side Stuff offer to compliment your newly lifted ride, like bumpers, tires and more!

Comment section